Workflows introduction
Workflows let you automate what happens after a trigger is received.
Instead of configuring one static trigger action, you now build a workflow by connecting steps together visually. This makes it easier to understand what will happen, extend automations over time, and combine multiple actions in the same flow.
A workflow always starts with a Trigger URL node. When FeedHive receives a request on that URL, the workflow runs from left to right and executes each configured step.
How workflows work
A workflow is made up of nodes.
Each node represents one step in the automation:
- the Trigger URL node receives incoming data
- action nodes define what FeedHive should do with that data
- the workflow can create, organize, and publish content depending on the steps you add
This means you can build automations such as:
- create a draft from incoming text
- create a draft and apply labels
- create a draft and publish it
- publish content directly to selected social accounts
- combine several steps in a single workflow
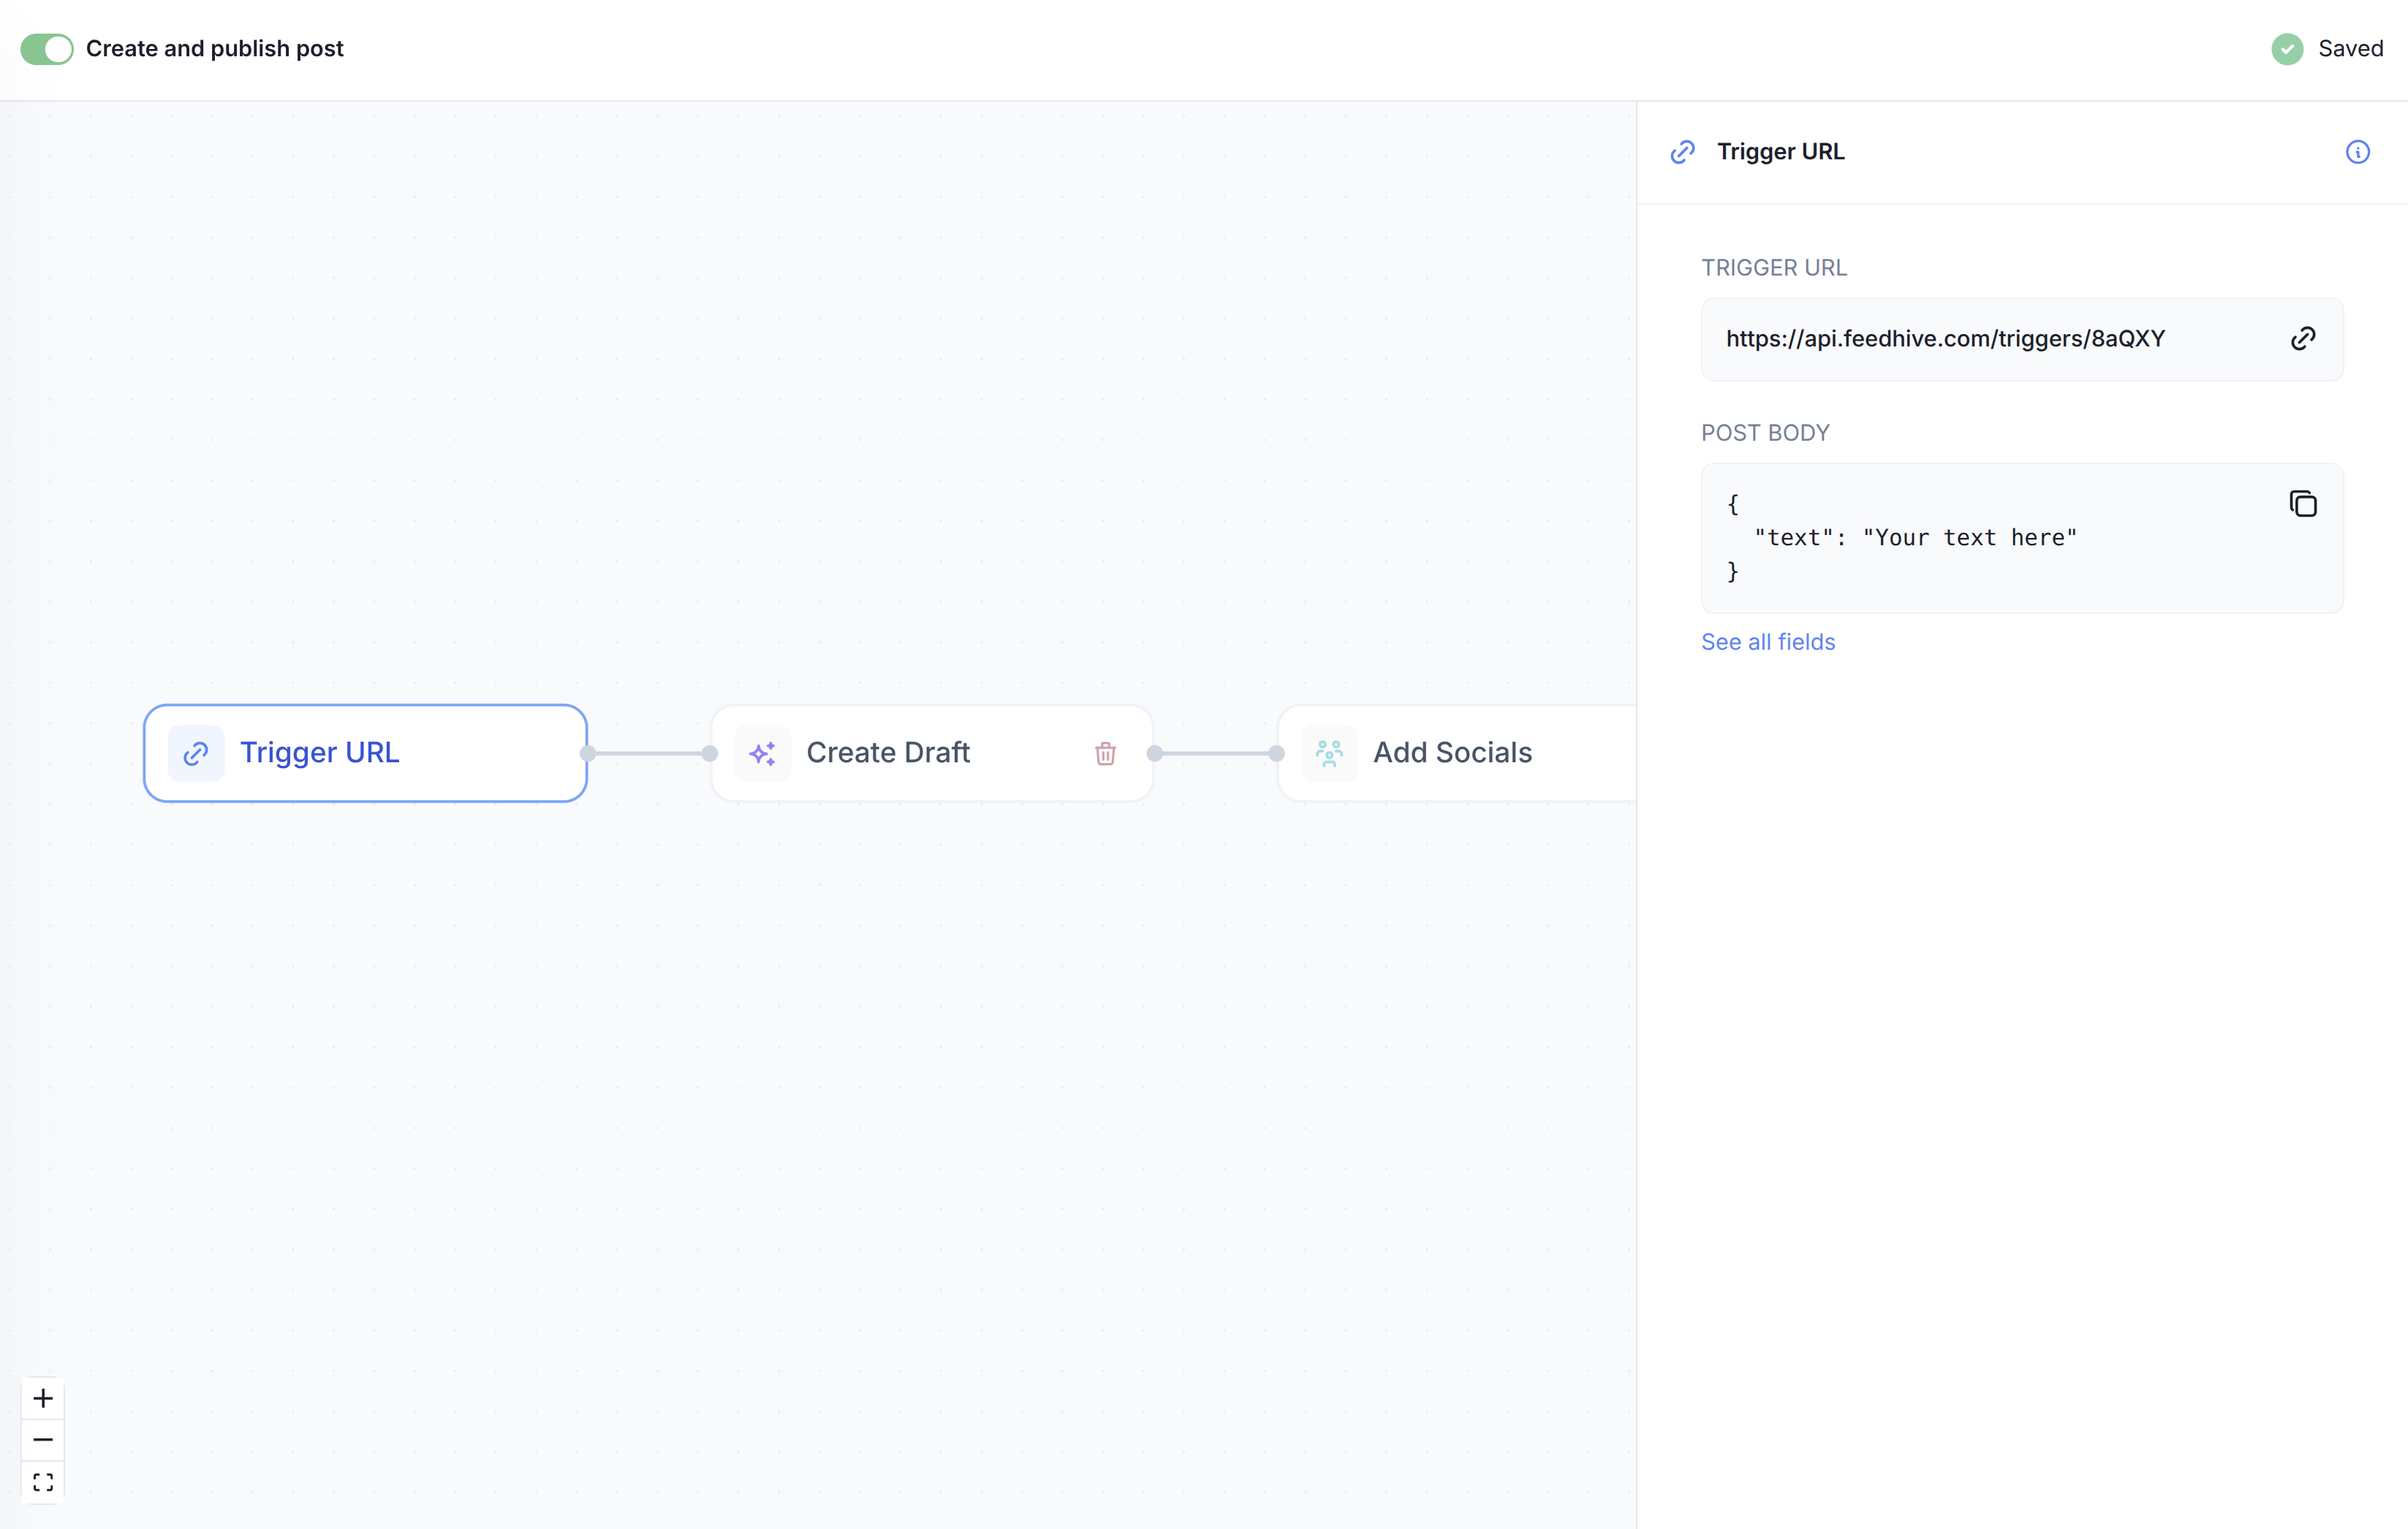
The Trigger URL node
Every workflow begins with a Trigger URL node.
This is the webhook endpoint you send data to from another tool or service. For example, you could send data from:
- Zapier
- Make
- n8n
- your own backend
- a form submission
- another internal tool
The Trigger URL node also shows the expected request body. The body preview changes based on how your workflow is configured, so you can see what fields are required for your current setup.
For example, a simple workflow might accept:
{
  "text": "Your text here"
}
More advanced workflows may require or support additional fields depending on the steps you add.
Workflow nodes
After the Trigger URL, you can add one or more nodes to define what should happen.
Create Draft
The Create Draft node creates a new draft post in FeedHive from the incoming workflow data.
Use this when you want incoming content to land in FeedHive first before it is reviewed, edited, labeled, or published.
Typical use cases:
- save ideas from another tool as drafts
- collect content suggestions from other tools or systems
- send posts from forms or spreadsheets into FeedHive
- prepare a post before publishing it later
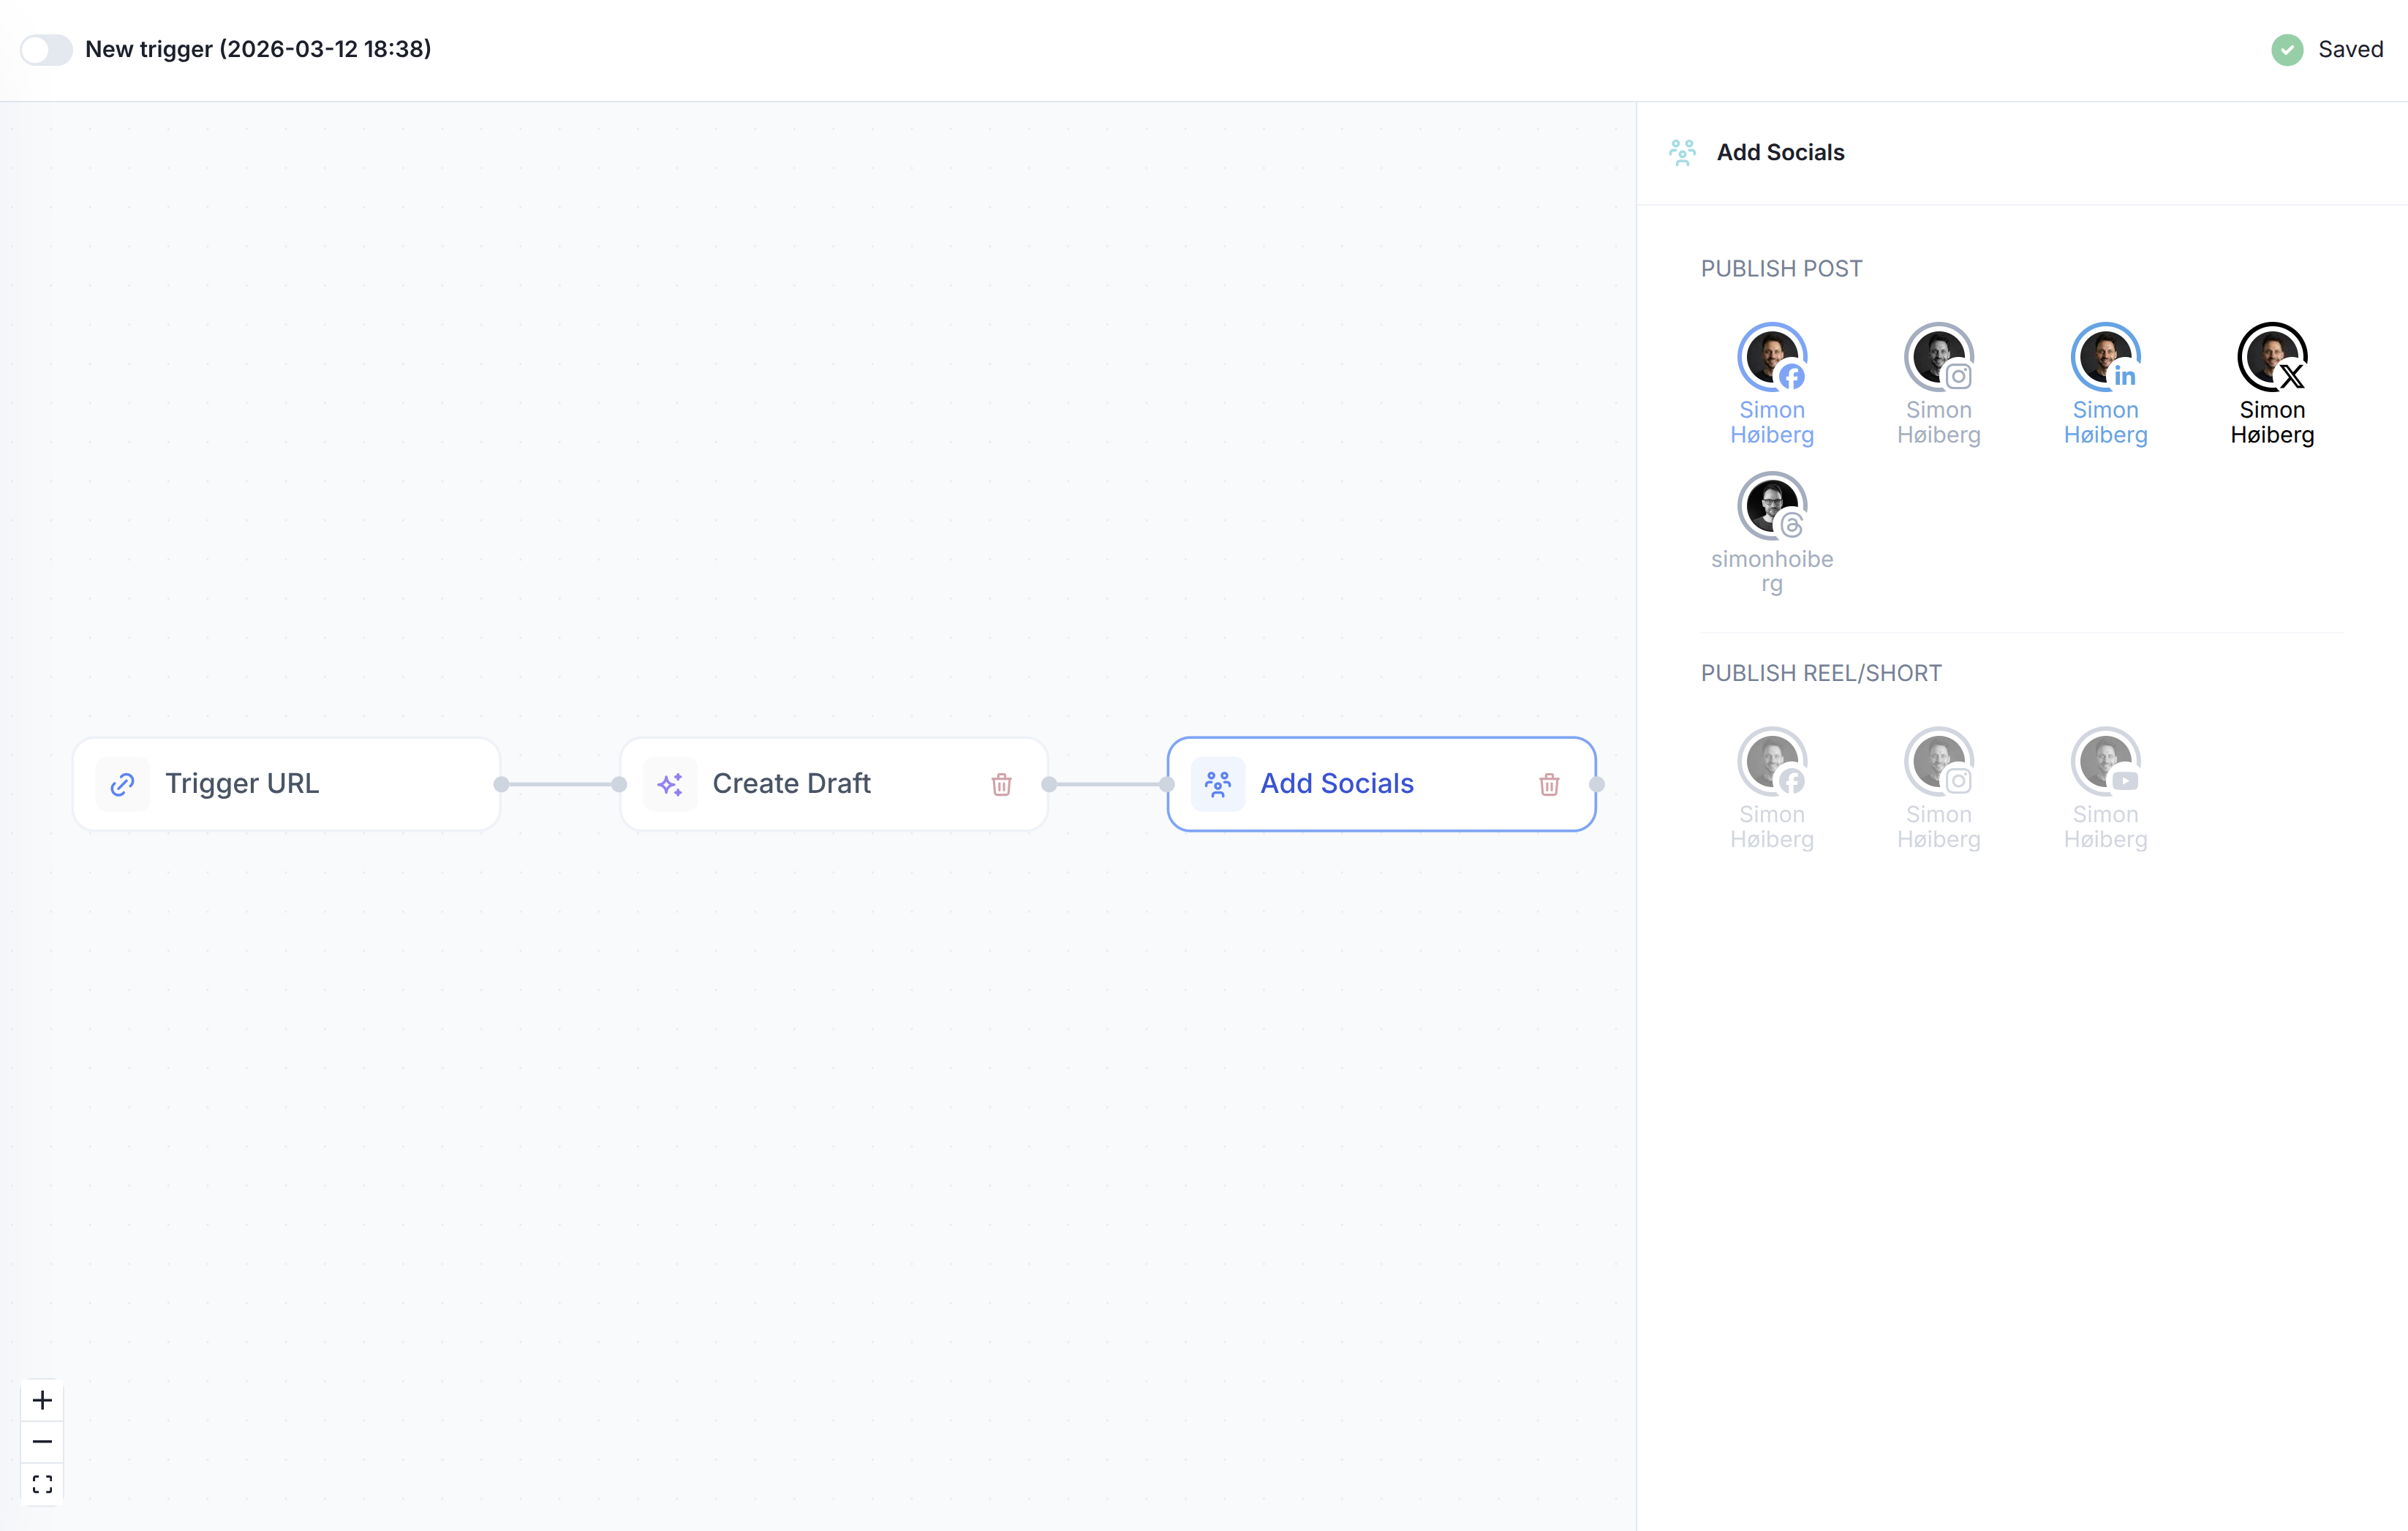
Add Socials
The Add Socials node selects which social accounts should receive the post.
Use this when the workflow should prepare content for specific publishing destinations. This step is typically used together with publishing-related workflows.
For example, you might route a workflow to:
- LinkedIn only
- X and LinkedIn
- Instagram and Facebook
- a specific subset of connected accounts
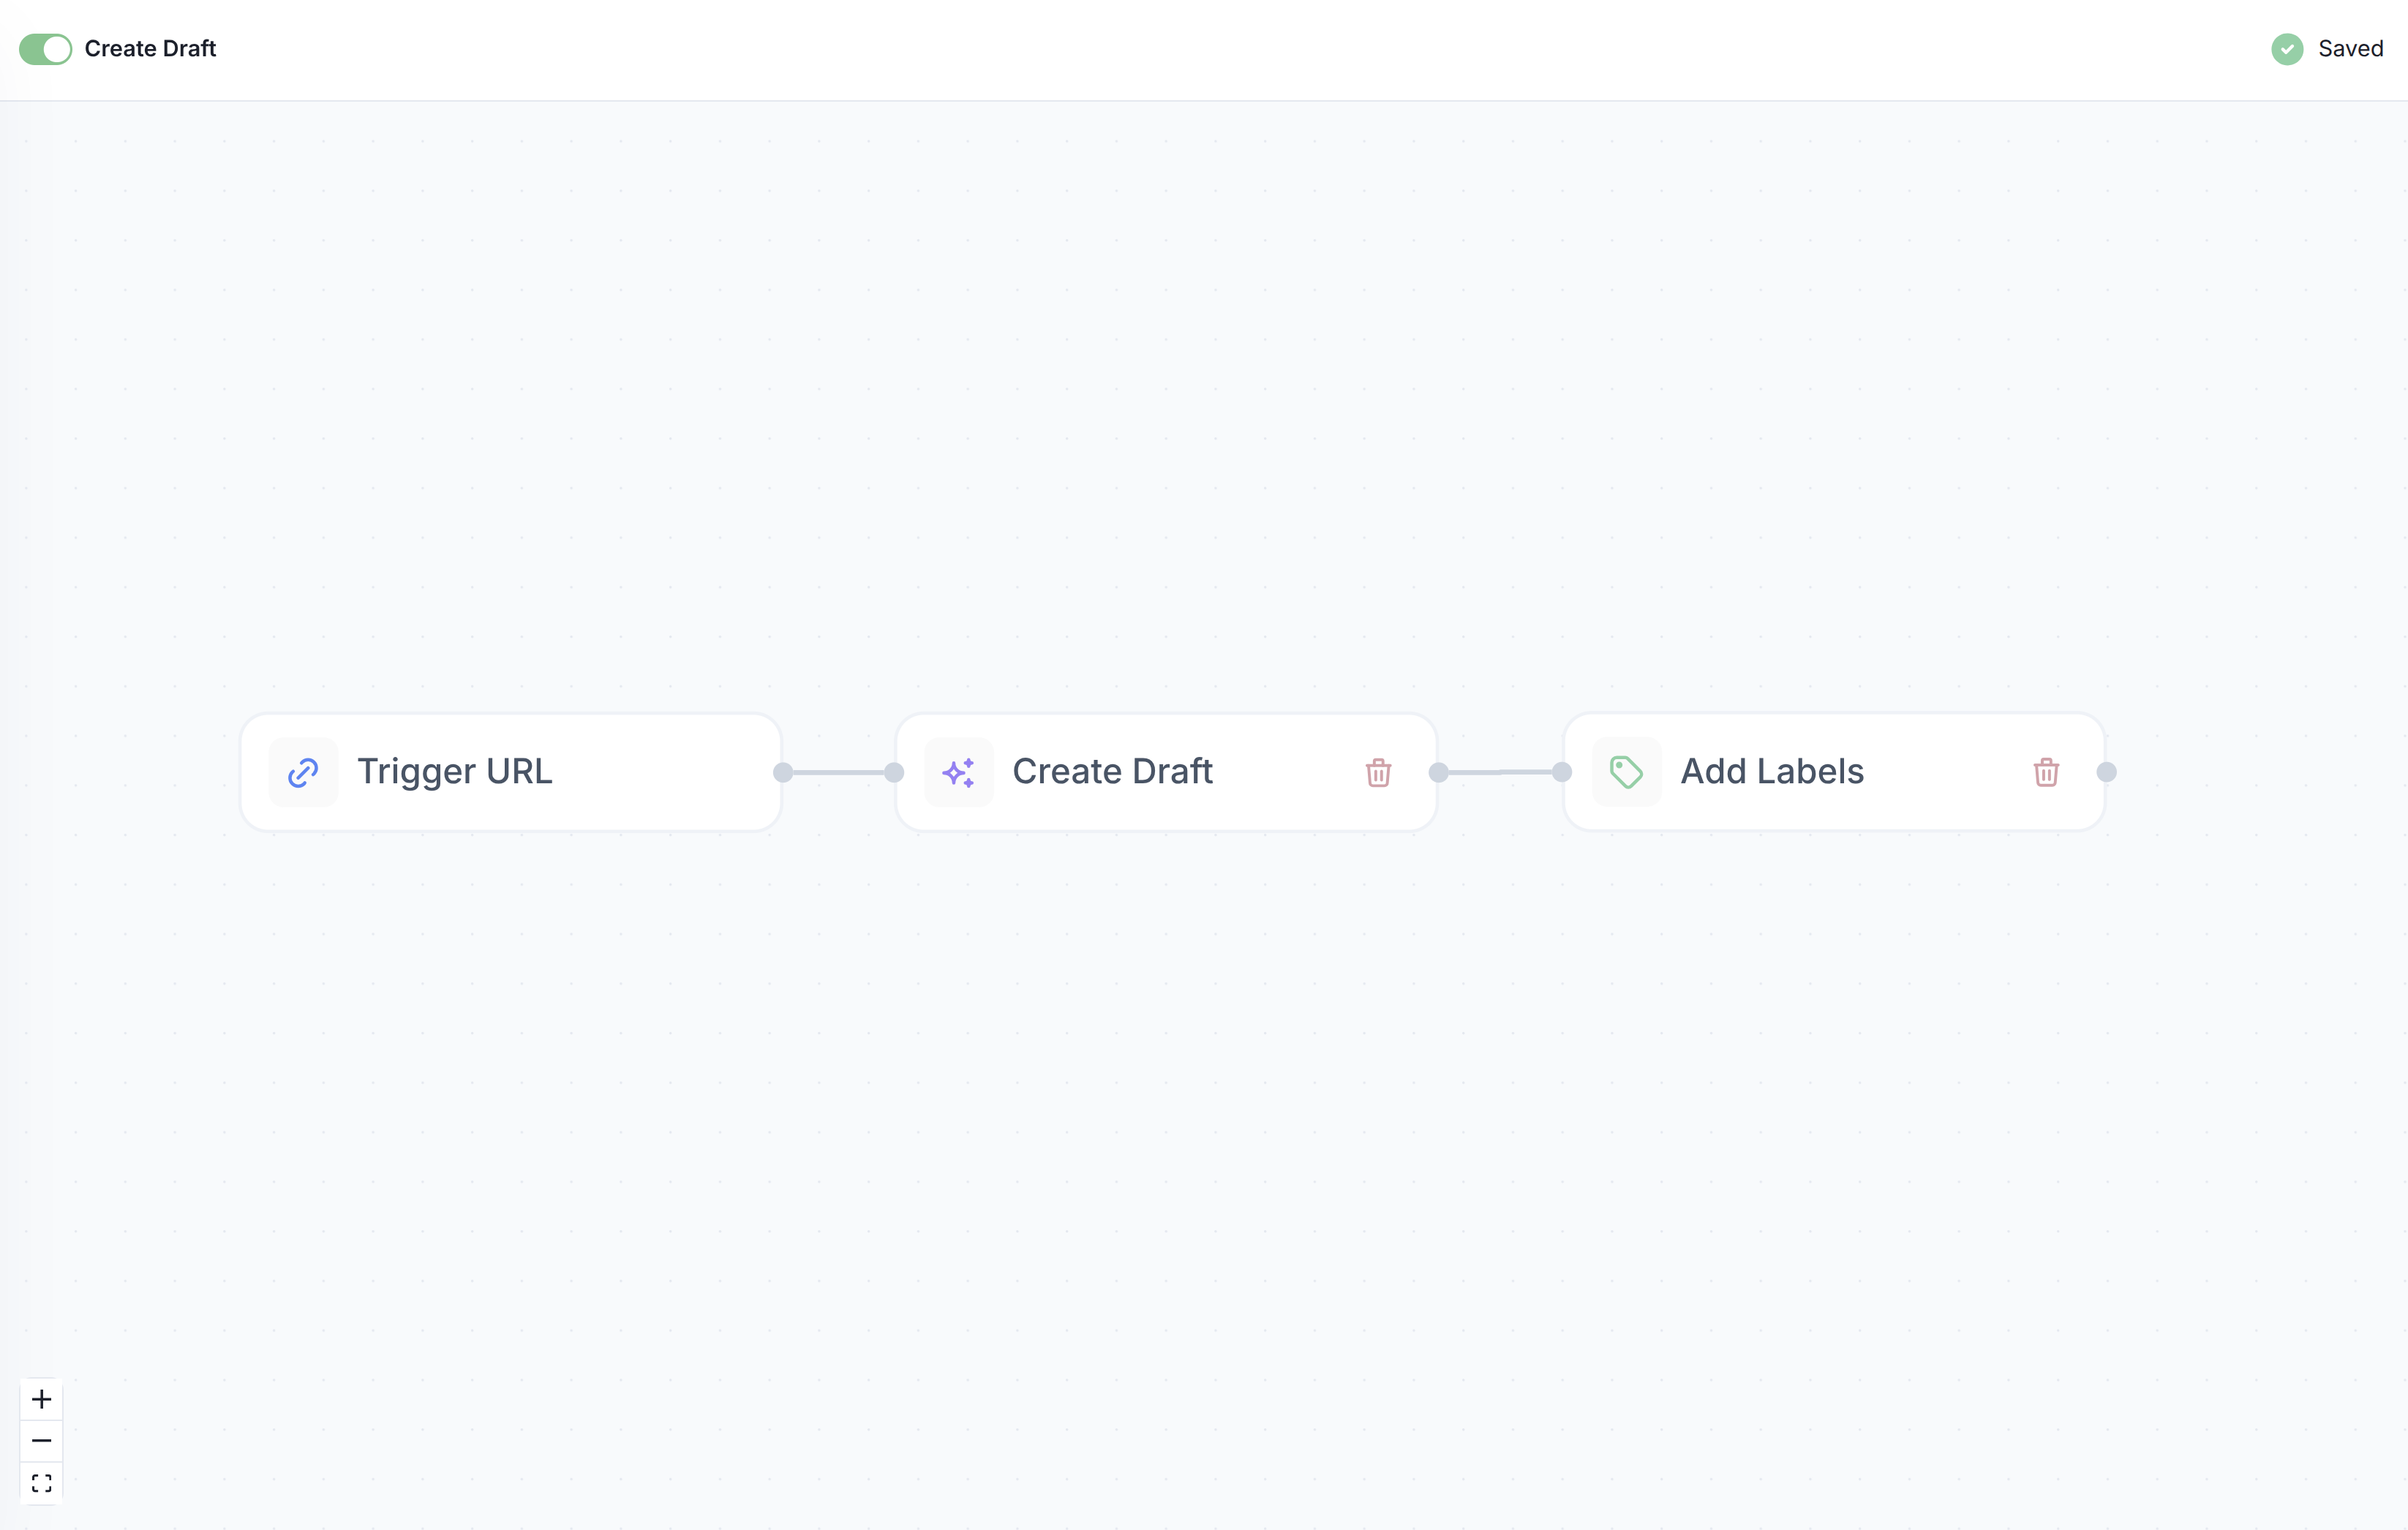
Add Labels
The Add Labels node applies labels to the created post.
Labels help organize workflow-generated content so it can be filtered, found, and managed later inside FeedHive.
This is useful if you want to categorize posts by:
- source
- campaign
- client
- content type
- automation origin
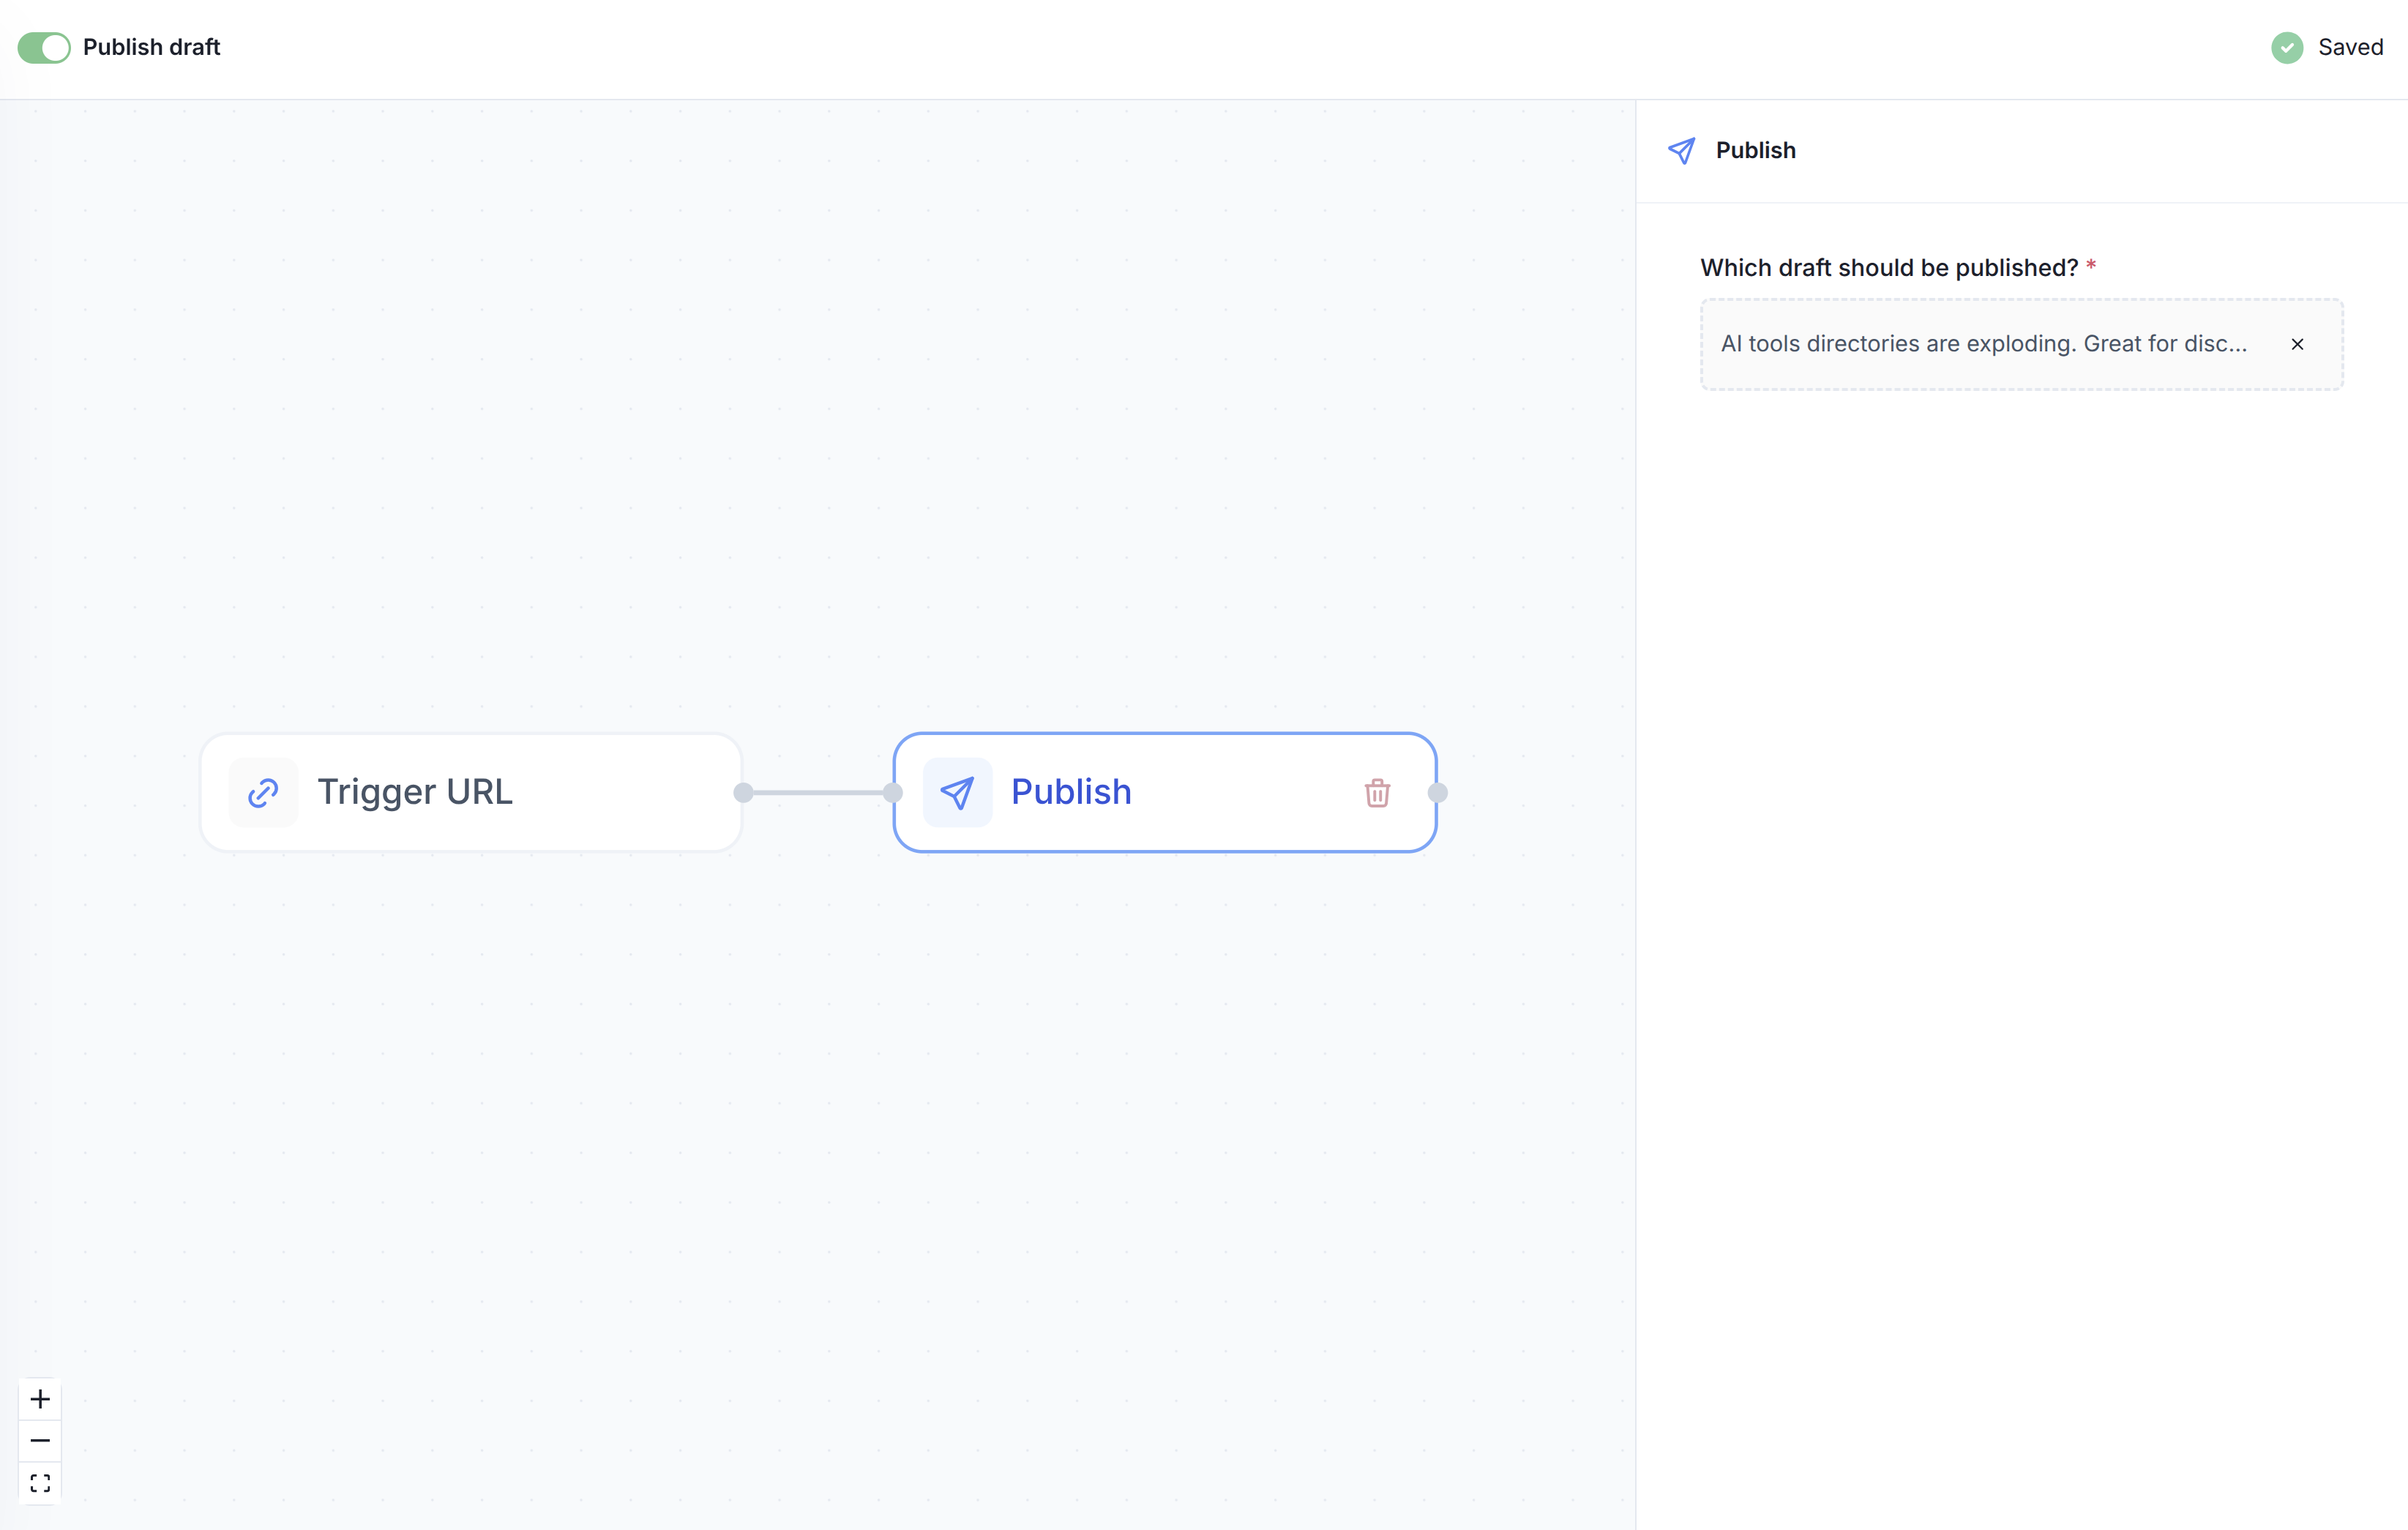
Publish
The Publish node publishes the post to the selected social accounts.
Use this when you want the workflow to post immediately instead of leaving content as a draft.
This is usually used after selecting accounts in Add Socials.
If you want review or approval before publishing, stop the workflow at Create Draft instead.
Example workflows
Below are a few common ways to use workflows.
Example 1: Create a draft
This is the simplest workflow.
It receives incoming content and creates a draft inside FeedHive.
Trigger URL → Create DraftUse this when you want another tool to send content into FeedHive, but you still want to review or edit it before publishing.
Example use cases:
- save article ideas from Notion
- turn form submissions into draft posts
- collect content drafts for later review
Example 2: Publish an existing draft
This workflow publishes a draft that already exists in FeedHive.
In this case, the incoming payload identifies which draft to publish, and the workflow sends it to the selected social accounts.
Trigger URL → PublishUse this when another system should trigger publishing of content that has already been prepared.
Example use cases:
- approve and publish from an external system
- trigger publishing from an internal tool
- publish pre-created FeedHive drafts at a specific moment
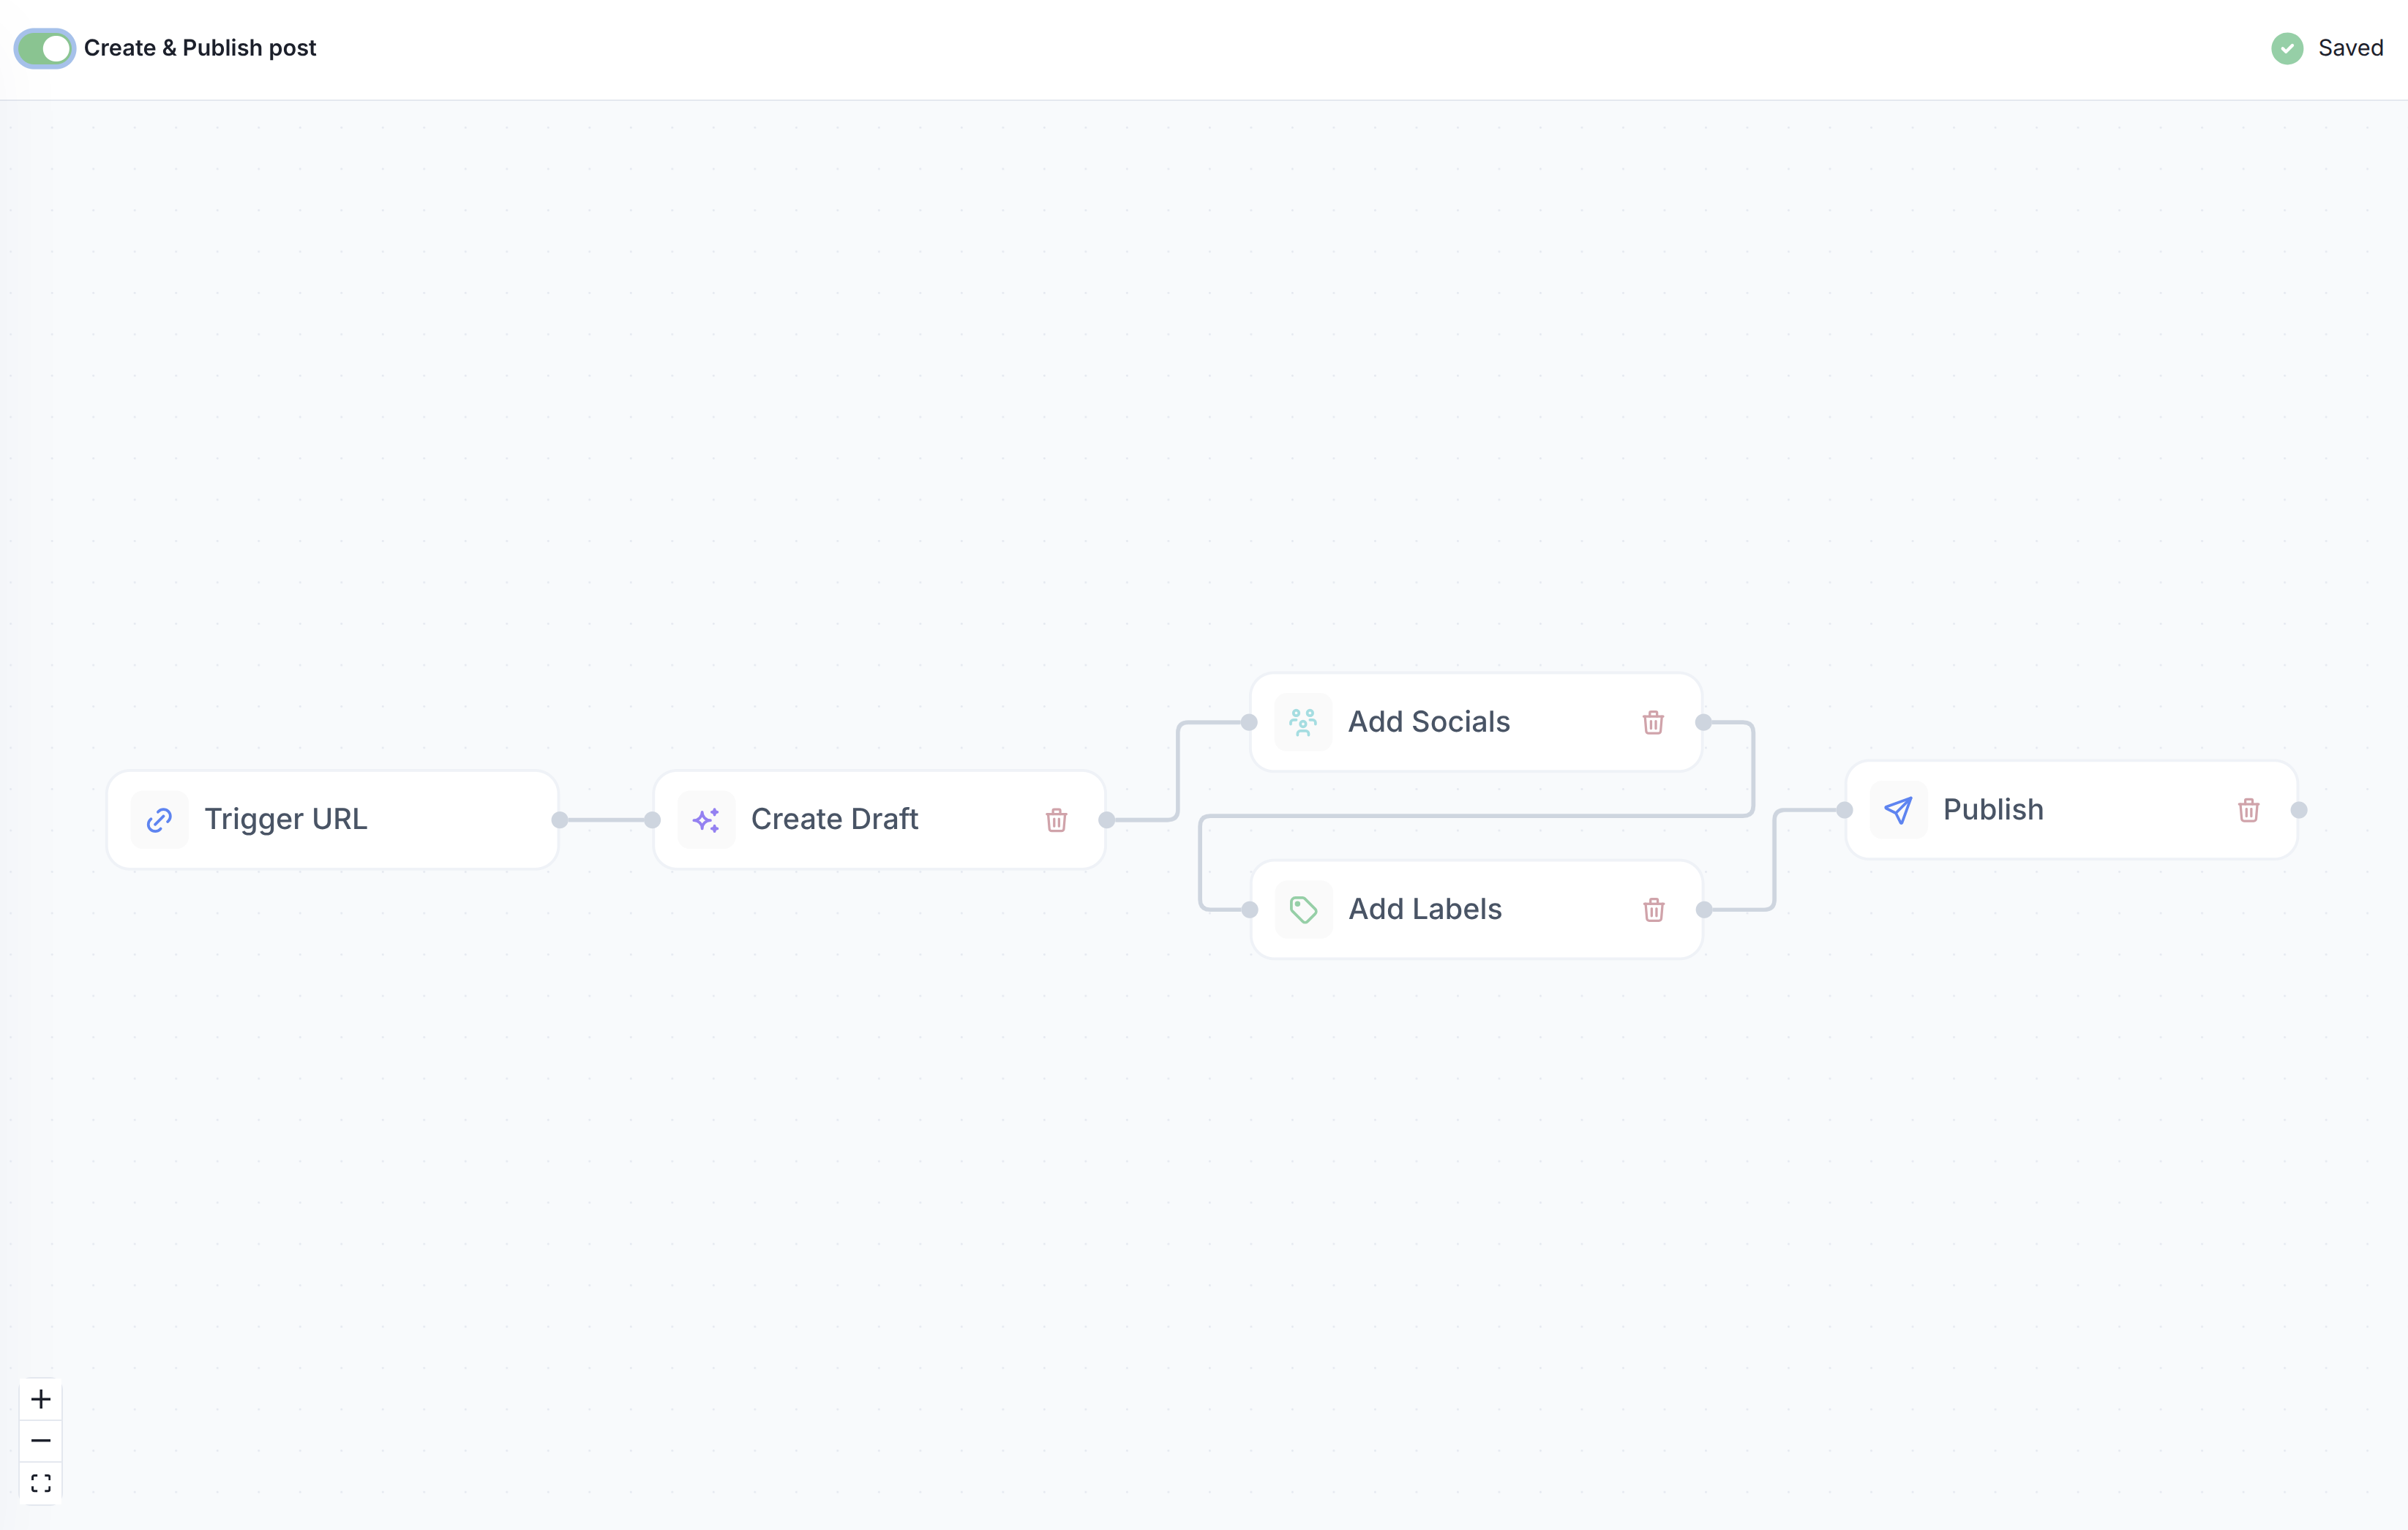
Example 3: Create a draft and publish it
This workflow creates the post and publishes it in the same run.
Trigger URL → Create Draft → Add Socials → PublishUse this when content should go out immediately after being received.
Example use cases:
- auto-publish short updates from another system
- publish announcements generated from a backend event
- send approved content directly to social channels
When to stop at draft vs publish immediately
A good rule of thumb:
- use Create Draft if you want human review
- use Publish if you want the workflow to post automatically
- use Add Labels if you want better organization
- use Add Socials if the workflow should control where the post is published
Next steps
- Read How to trigger to learn how to send requests to a workflow
- Read Reference for request fields, payload structure, and supported behavior